
Learn the Spike Cluster Stitch and Single Crochet Stitch with the Galaxy Headband Pattern
Crochet is such a fun way to create beautiful, cozy items. If you’re looking to add some new stitches to your toolkit, I’ve got you covered! Today, I’m excited to share tutorials for two fantastic stitches: the spike cluster stitch and the single crochet stitch. These stitches are perfect for making textured, eye-catching projects.
Plus, I’ll show you how to combine these stitches in a lovely project—the Galaxy Headband pattern. It’s a great way to practice and create something stylish and warm.
Let’s dive in!
How to Crochet the Single Crochet Stitch
The single crochet stitch is one of the most basic and essential stitches in crochet. It’s simple, sturdy, and creates a tight fabric that’s perfect for hats, scarves, and headbands.
Here’s how to do it:
Start with a foundation chain. Make the number of chains your pattern calls for.
Insert your hook into the second chain from the hook. (The first chain closest to the hook doesn’t count.)
Yarn over and pull through the chain. You’ll have two loops on your hook.
Yarn over again and pull through both loops. That’s one single crochet stitch!
Repeat across the row. Insert your hook into the next chain, yarn over, pull through, yarn over, pull through two loops.
When you reach the end of the row, chain one and turn your work to start the next row.
The single crochet stitch creates a dense, firm fabric. It’s great for beginners and a solid base for more complex stitches.
Mastering the Spike Cluster Stitch
The spike cluster stitch adds a fun texture and dimension to your crochet projects. It’s a bit more advanced than single crochet but totally worth learning.
Here’s a step-by-step guide:
Start with your foundation chain and a base row of single crochet stitches.
Yarn over and insert your hook into a stitch several rows below the current row. This is what creates the “spike” effect.
Yarn over and pull up a loop. You’ll have three loops on your hook.
Yarn over and insert your hook into the next stitch in the current row. Pull up another loop. Now you have five loops on your hook.
Yarn over and pull through all five loops. This completes the spike cluster stitch.
Continue with single crochet stitches or repeat the spike cluster stitch as your pattern directs.
The spike cluster stitch creates a raised, textured look that’s perfect for adding interest to simple projects. It’s especially stunning when combined with the single crochet stitch.

Close-up of a crochet headband showing the texture of spike cluster and single crochet stitches
Combining the Stitches in the Galaxy Headband Pattern
Now that you know how to make both the spike cluster stitch and the single crochet stitch, it’s time to put them together in a project. The Galaxy Headband pattern is a perfect choice.
This pattern uses both stitches to create a textured, cozy headband that’s great for chilly days. The spike cluster stitch adds a cool raised effect, while the single crochet stitch keeps the fabric snug and stretchy.
Here’s why I love this pattern:
It’s beginner-friendly. Even if you’re new to the spike cluster stitch, the instructions are clear and easy to follow.
It’s quick to make. You can finish the headband in a few hours.
It’s stylish and practical. The texture looks great, and the headband keeps your ears warm.
If you want to try it out, you can find the pattern in the shop here: Galaxy Headband pattern.
Tips for Success with These Stitches
When working with the spike cluster stitch and single crochet stitch, a few tips can help you get the best results:
Use a smooth yarn. It’s easier to see your stitches and work the spike cluster stitch with yarn that isn’t too fuzzy.
Keep your tension even. This helps your fabric look neat and consistent.
Practice the spike cluster stitch on a swatch first. It might feel tricky at first, but a little practice goes a long way.
Use the right hook size. Check your yarn label for recommended hook size, but don’t be afraid to go up or down a size to get the fabric you want.
Count your stitches regularly. This keeps your rows even and your pattern looking great.

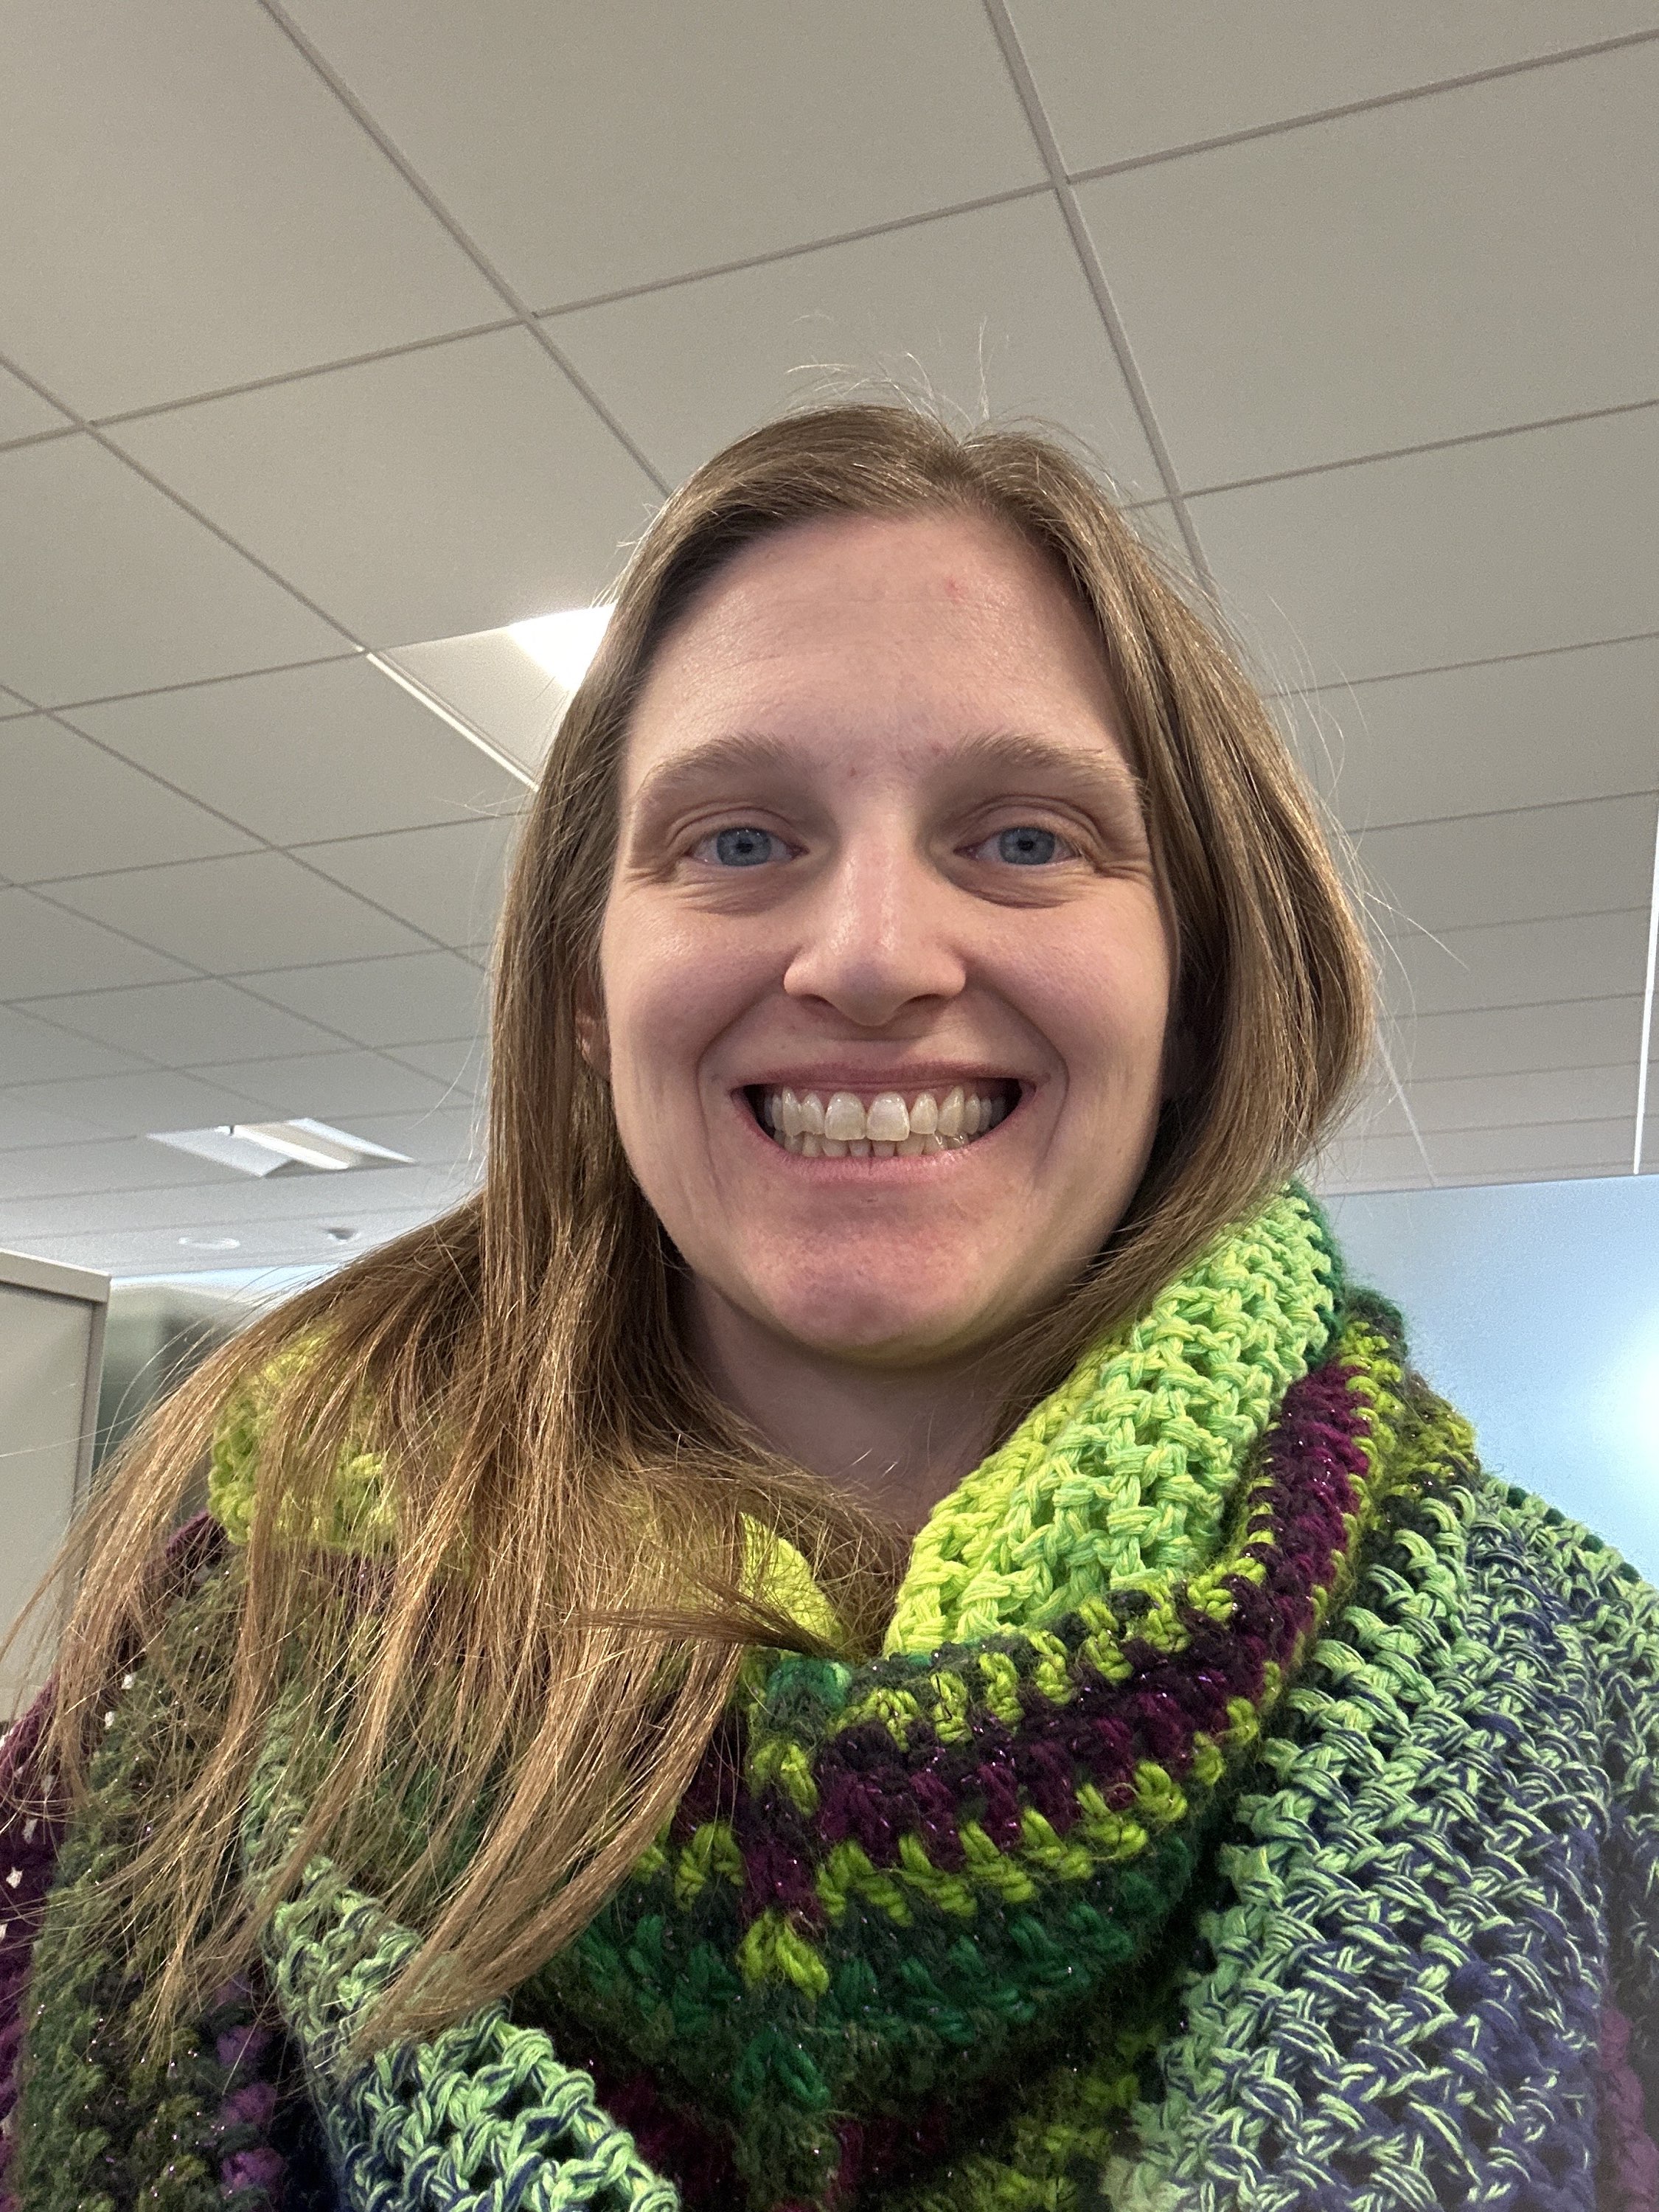
A woman wearing the Galaxy Headband
Why These Stitches Are Great for Your Crochet Projects
Both the spike cluster stitch and single crochet stitch have their own strengths:
Single crochet stitch is perfect for beginners and creates a tight, durable fabric.
Spike cluster stitch adds texture and visual interest, making your projects stand out.
Using them together, like in the Galaxy Headband pattern, gives you a chance to practice different techniques and create something unique.
Plus, these stitches work well with many yarn types and colors. You can customize your project to match your style or gift it to someone special.
Final Thoughts on Stitching Your Next Project
Learning new stitches keeps crochet exciting and helps you grow your skills. The spike cluster stitch and single crochet stitch are a great pair to add to your repertoire.
If you want a project that combines both, the Galaxy Headband pattern is a wonderful choice. It’s fun, quick, and results in a beautiful accessory.
Grab your favorite yarn, pick up your hook, and give these stitches a try. You’ll be amazed at what you can create!
Happy crocheting!
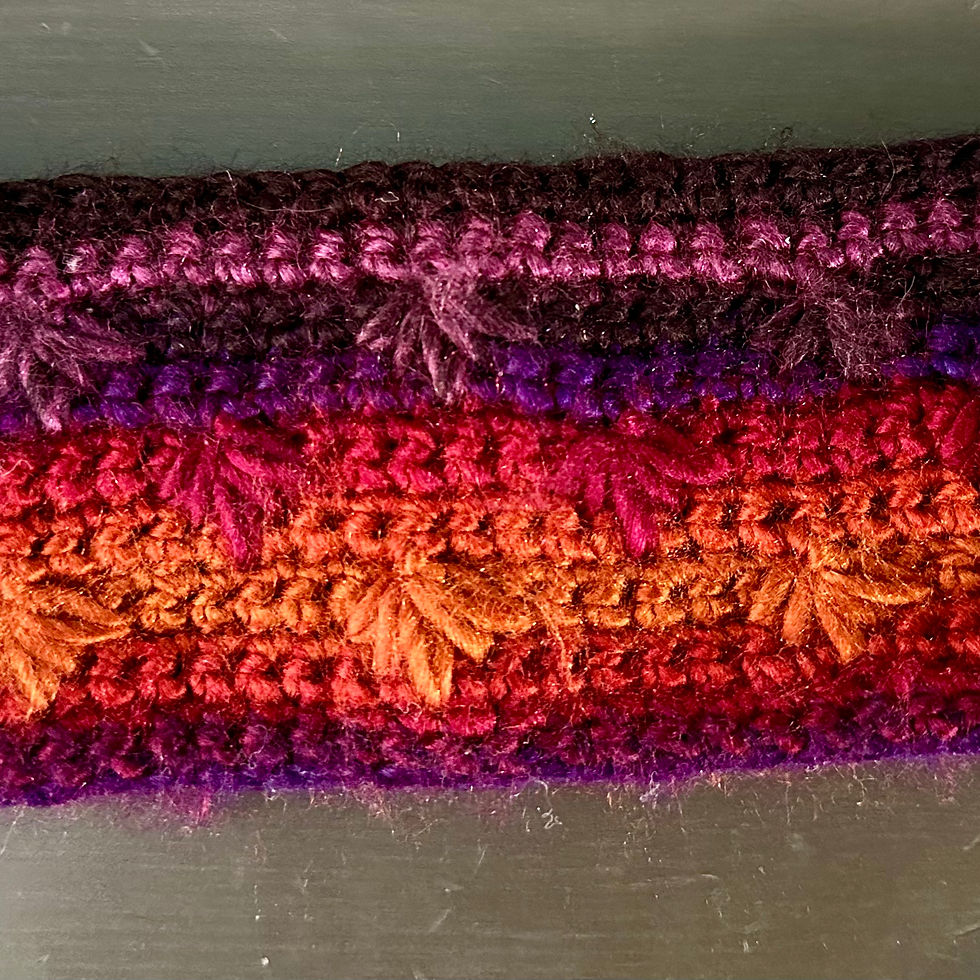
Close up view of finished crochet headband showing texture and color


Comments